
Securing your tank and keeping out mosquitoes, leaves and debris is a critical step in successful rainwater collection.
Be sure to remove any over-hanging trees or vegetation from over the roof.
A Pre-Filter or Screen is fundamental to keeping mosquitos and debris out of the tank. The stainless-steel mesh keeps out what needs keeping out (mosquitoes, leaves, critters), while still allowing for a maximum flow rate and minimizing splashing.
There are a variety of pre-filters and screens. Cactus Rain carries all of these in stock, except for gutter guards.
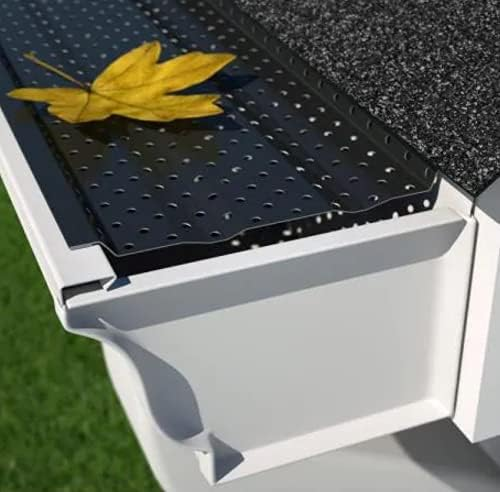
Gutter Guards
Gutter guards are helpful if you have deciduous trees nearby, with leaf eater that gets blown into the gutters. Be sure your screens are made of a material that is approved as safe for drinking water.
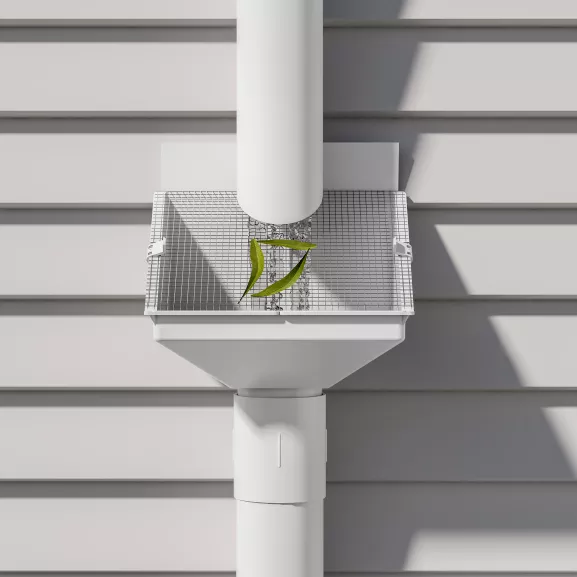
Downspout Screens:
A downspout screen is a simple and effective way to keep debris from entering your rain tank, and they are easy to install and maintain. They are largely self-cleaning, and the models with an open design allow hail to exit without clogging. Rain heads should be fitted at each downspout that supplies water to the tank/cistern.
The Leaf Eater has 955 micron (0.955mm), stainless steel mesh screen.
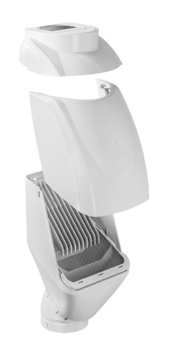
Basket Screens:
Tank screens will further filter out leaves and debris. While the tank screen should provide the final point of protection, it should not be the only barrier for leaves, debris and pests in a drinking water system. (It is ok as the only protection for an irrigation-only tank smaller than 360 gallons.) Tank screens must be secured to the tank to prevent critters or children from entering the tank.


Solar Screen (aka Light Guard)
A Solar Screen is typically installed in the top of a rainwater collection tank in tandem with a tank screen. Adding a Solar Screen helps prevent sunlight from entering the tank which reduces the amount of algae growth in the rainwater tank significantly. Its cleverly designed fins evenly distribute and calm the water flow into your tank, minimizing sediment resuspension and ensuring that water stays at its best.
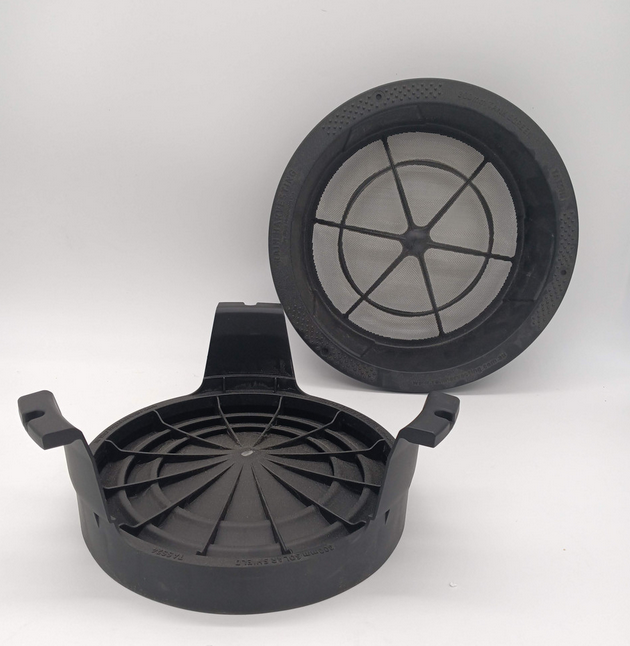
Vortex Screens, Maelstrom Filter
Vortex Screens are the premium option for self-cleaning rainwater pre-filters on a drinking water system.
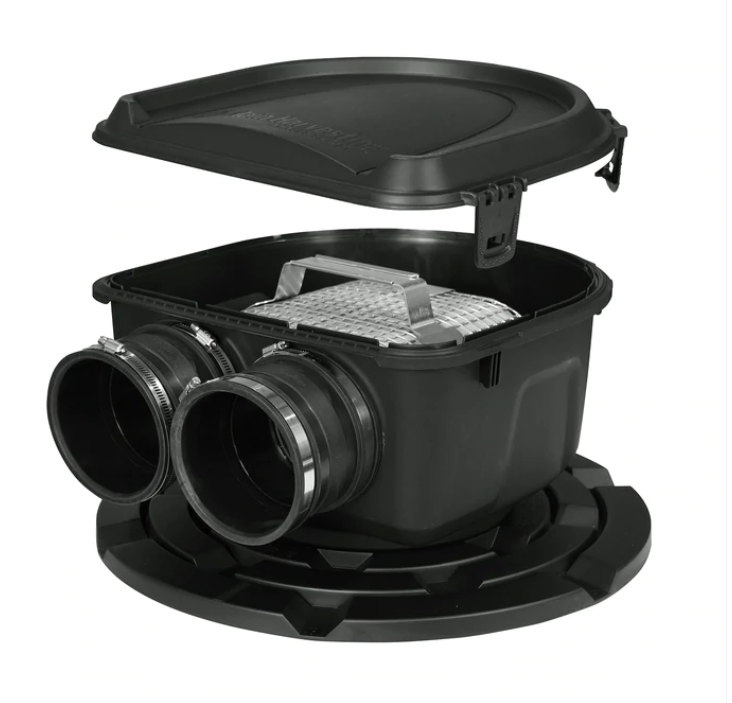
The Maelstrom with Shark Cage Filter will filter rainwater to 180 microns to deliver high-quality, clean water directly to your storage tank, making it ready for use. The unrivalled, super-fine filtration of the Maelstrom with Shark Cage Filter provides you with the comfort and peace of mind in knowing that your rainwater catchments will be receiving superb filtration to prevent unwanted particles and matter from entering your system.
The Maelstrom with Shark Cage Filter can be very quickly and easily cleaned, reducing overall maintenance and helping to keep your system intact. The single skin, stainless steel mesh filter can be easily removed for fast cleaning, keeping leaves and debris out of your system entirely. Easily reattached when cleaning is complete, your system will stay working as required and deliver you plenty of clean rainwater.
How it works
- Water enters the system through an inlet, before filtering through the super fine Shark Cage Filter.
- The unique design of the filter knocks the energy out of the water, allowing it to then fall into your tank.
- Leaves and debris are pushed to the side, and in many instances will wash out the dirty water outlet on the top, providing a level of self-cleaning.
- Huge water catchment with incredibly fine filtration.
How to Maintain your Clean Tank System
Clear Gutters and Downspouts
Make sure these are not clogged (usual suspects are critter nests and leaves). Check at least every 6 months.
After a large storm, clear debris and check for damage.
Check Tank
After a large storm, clear debris and check for damage.
At least once each year, visually inspect the inside of the tank for excessive leaf litter, animal remains, unusual discoloration, odors, or other evidence of contamination. A thin layer of settled material on the bottom of the tank is normal and does not, by itself, indicate that the tank needs cleaning.
Sediment Layer
In any rainwater harvesting system, a sediment layer will gradually form at the bottom of the tank. This layer consists of small particles that pass through the filtration system. Sediment is not harmful; in fact, it can benefit the system. Along with biofilm on the water surface, tank walls, and bottom sludge, the sediment layer helps improve rain cistern water quality by capturing and binding contaminants such as metals, chemicals, and bacteria. For this reason, it is important to leave the biofilm and sediment layer intact.
- Do not empty, scrub, disinfect, or vacuum the tank on a routine schedule merely because some sediment is present. Unnecessary cleaning can disrupt the established biofilm, resuspend captured contaminants, waste stored water, and temporarily reduce the tank’s natural treatment capacity.
- Rainwater should not be drawn from the bottom 4 inches of a rainwater tank to maximize the quality of water by avoiding disturbance of the sediment layer.
Note: This applies to rainwater harvesting cisterns, which store water before final treatment. In this phase of the treatment train, the sediment layer and biofilm are beneficial. Your neighbors may be in a different situation if they are storing their final (treated) drinking water in a tank.
Cleaning
Cleaning should be considered when:
- Significant organic debris, such as leaves or animal material, has entered the tank.
- The water develops an unusual odor, color, taste, or persistent turbidity.
- Algae or excessive biological growth is visible.
- Sediment has accumulated enough to interfere with the inlet, outlet, pump, or usable storage volume.
- Water-quality testing identifies contamination that requires corrective action.
- Floodwater, chemicals, sewage, or another known contamination source has entered the system.
If cleaning is necessary, remove only the accumulated material required to correct the problem and avoid aggressively scrubbing all tank surfaces unless disinfection is specifically warranted. After cleaning or a contamination event, inspect the roof, gutters, screens, prefilters, calming inlet, overflow, and pest-proofing to identify and correct the source. Test the water before returning it to potable use, where applicable. The presence of a mature biofilm supports treatment within a properly designed system, but it does not replace source protection, filtration, disinfection, or water-quality testing required for the intended use.
Cleaning Inside your Tank
Do not enter a tank. If your barrel is small enough, tip it on its side.
Interior surface cleaning can be accomplished with a pressure washer (only if absolutely necessary) and sediment removal with a wet/dry vacuum. Pressure washers come in a variety of sizes and strengths, but one with a pressure range between 1,300 and 2,400 psi works best for most household tasks.
Follow these steps to clean the inside of your tank with a power washer:
- Fill your power washer with water or mild, food-safe cleaning solution (e.g. dish soap or baking soda).
- Start by holding it about four feet away from the surface you're cleaning. Move closer until you find the distance that works best for removing the target dirt, sediment, and debris.
- Hold the pressure washer so the water hits the interior wall of the tank at a 45-degree angle.
- Continue this until you are satisfied that you've removed all the target algae or and sludge from the walls of your tank.
- Pressure washers are very powerful, so always wear safety goggles when you're using them, never point them at another person or animal, and follow all other safety regulations.
Rinse thoroughly. Once you're satisfied that you've scrubbed most or all of the residue from the inside of your tank, you need to rinse it very thoroughly. This is best done by using a hose to spray down the interior walls, making sure to get into all the nooks and corners. You can also use a pressure washer filled with clean water to do this.
Remove remaining liquid and residue with a vacuum. Most water tank drains will not allow you to drain all of the liquid from the tank. If your tank is too large to tip on its side and spray out, you probably won't be able to spray all of the detergent and residue out of the tank. In order to remove this residue, you can vacuum it out with the hose attachment of a wet/dry vacuum. Make sure you get the hose into the cracks, crevices, and corners of your tank in order to remove all of the residue.
Cleaning Agents
Generally, we do not encourage the addition of cleaning agents to your rain barrels and tanks. If a system is properly installed with screens, filters, and sediment traps, it should not need routine cleaning, or any additional chemical warfare. The tank has a healthy biome that you do not want to kill. Moreover, chlorine can interact with and damage the plastic tank or liner, depending on the concentration and exposure time. Chlorine is added in a concentrated form and then diluted - during that concentrated time, more harm can be done than good. Instead of adding chemicals, above are some recommended ways to maintain tank health and cleanliness.
If you must use a cleaning agent:
Bleach for algae - For algae, chlorine is superior to hydrogen peroxide. Using household bleach (sodium hypochlorite) can be a short-term method to kill algae in stored water or tanks.
You can try mixing 1-3 ppm, up to 5 ppm (parts per million) for algae in water. For reference, the recommended range for free chlorine in pools is 1-3 ppm to ensure safe and clean water for swimming.
To achieve a 5 ppm concentration of chlorine per 100 gallons of water, you would add approximately 0.5 ounces (or about 1 tablespoon) of bleach (5.25% sodium hypochlorite). In a full 2500-gallon tank, that's 12.5 ounces, or about 1.5 cups.
If you are going to dose your tank with bleach, go low and slow with liquid household bleach. Use only plain, unscented household bleach (do not use splashless, scented, or color-safe bleaches). Use a liquid bleach that contains between 3.0% and 8.25% sodium hypochlorite.
NEVER put powder or tablet forms of chlorine in your tank. This would sit directly on the tank until it dissolves, potentially damaging the material.
Hydrogen peroxide is not an effective disinfectant, but rather an excellent oxidizer. Contact time dilutes its ability to oxidize. Because a storage tank has extended contact time, it is not very effective to use hydrogen peroxide directly inside a retention tank. Only use hydrogen peroxide in flowing/dosing systems.
Removing iron and sulfur is best accomplished with oxidation. If you have incredibly high iron or sulfur, chlorine is not a good choice, but hydrogen peroxide is. An H2O2-injection system would be needed to properly administer hydrogen peroxide for iron and sulfur eradication.